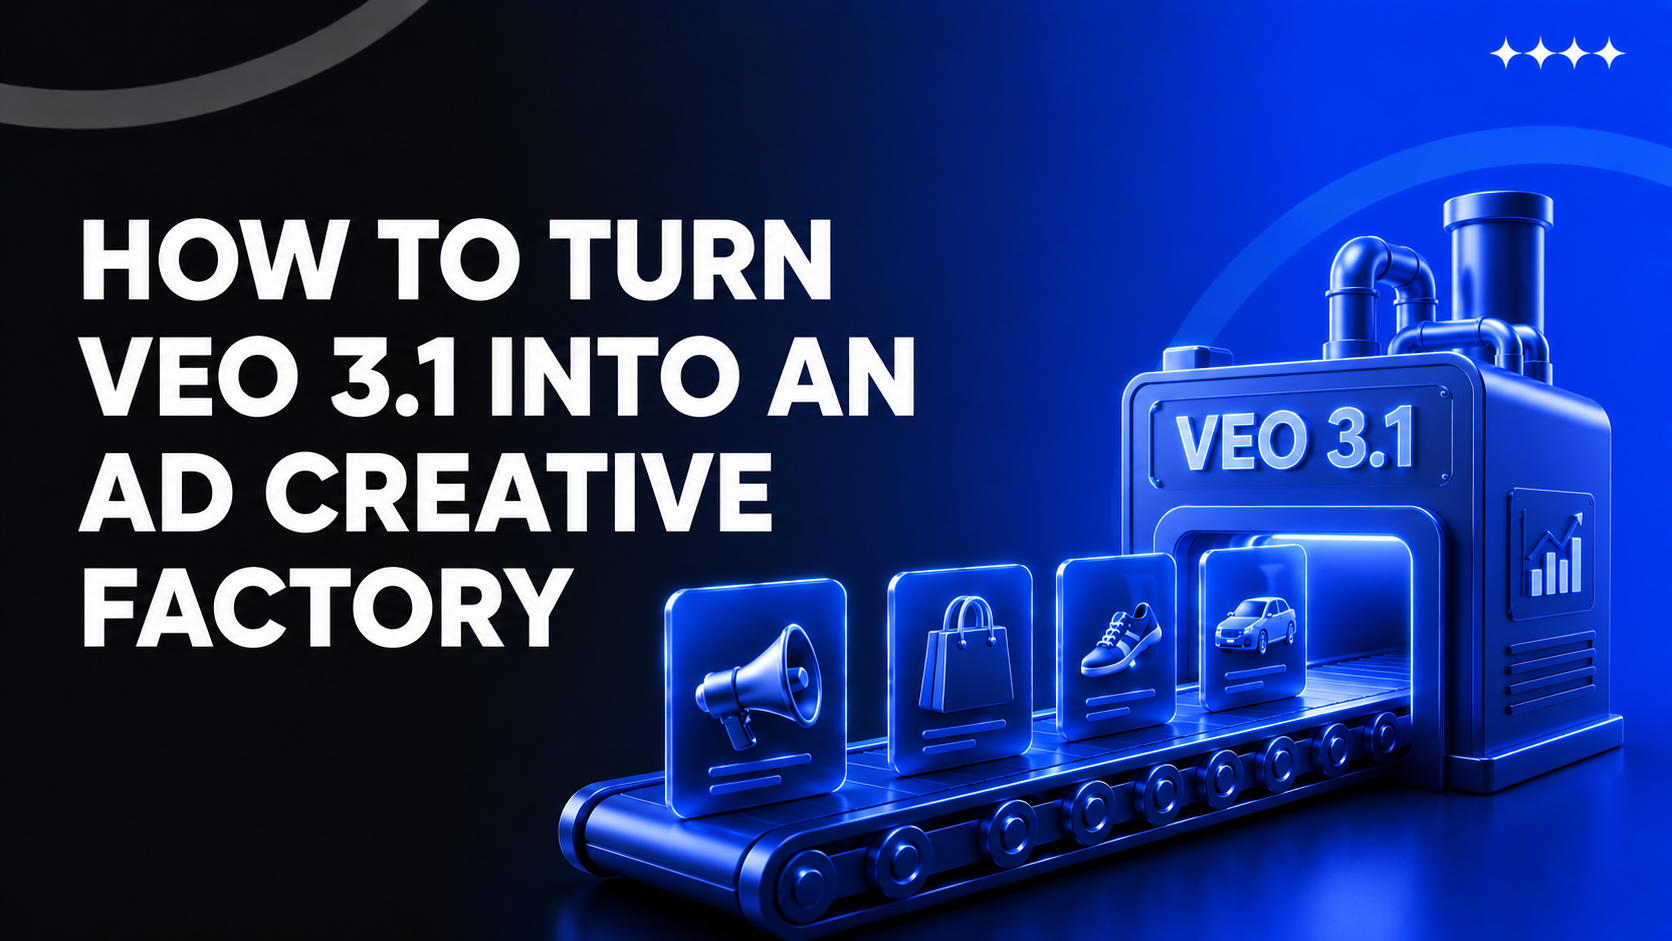
Veo 3.1 for Media Buyers: Turning One Neural Net Into a Full Creative Factory
Nobody in affiliate marketing is impressed by "AI creatives" anymore. We've all been stamping out creatives with neural nets for a while now — vertical clips for socials, long-form for YouTube, talking-head reviews for nutra and white-hat offers. The problem was never whether AI could make video. The problem was that most models spat out unstable, glitchy footage that ate hours in post and still looked obviously synthetic on the feed — which kills CTR and gets you flagged faster by moderation.
Veo 3.1 is the first model that actually behaves like a production tool instead of a slot machine. It finally delivers stable footage with audio baked in and follows the prompt closely enough that you can run it as part of a real creative pipeline — the kind where you need 20 variations of an angle by end of day, not one lucky render.
This guide is written for affiliates and buyers. We'll cover what changed under the hood, how to set up your workflow in Google Flow, how to write prompts the model understands on the first try, how to control the virtual camera, how to keep a character consistent across a whole batch, and how to do all of it without torching your credits. Treat this as the difference between paying a video editor $400 a clip and rendering a tested creative for the price of a coffee.
Why this matters for your ROI
Before the "how," it's worth being honest about the "why," because the economics are the whole point for a buyer.
A single decent UGC-style video creative from a freelancer or a production house runs anywhere from $150 to $1,000+ and takes days. When you're testing offers, you don't need one perfect creative — you need volume. You need the same hook shot ten different ways, the same actor in five locations, the same product demo in three languages. That's a budget line that quietly destroys ROI on testing.
Veo 3.1 collapses that cost. A draft render runs roughly 20 credits; a final-quality render runs roughly 100. On a paid plan that puts your cost-per-creative in cents-to-low-dollars territory, and the turnaround drops from days to minutes. The strategic shift isn't "AI makes creatives" — it's that creative testing stops being a bottleneck. You can afford to be wrong nine times out of ten because being wrong is now cheap.
What changed from Veo 3 to Veo 3.1
Audio that actually works
Audio in Veo 3 was a coin flip: quality jumped around, sound distorted, effects showed up at random. In 3.1 that's fixed. Audio generation now runs by default, even when you extend a clip.
Write something simple like "car tearing down the road at full speed, tires screeching, engine roaring, water spraying," and where older versions handed you a silent picture you'd have to score in post, 3.1 generates the scene with sound already attached. You get the slow-motion whoosh, the rain, the tire screech, the engine — everything written into the prompt is pulled in automatically.
It also layers in ambient sound that fits the scene. A shot of a woman in a field might pick up insects or wind even if you never asked for them. For buyers, this is the single biggest time-saver: sound design is usually where "AI creative" reveals itself as fake, and now it's handled in the same pass.
It follows the prompt
Earlier versions liked to improvise — they'd "fill in" the scene and quietly swap details on you. A simple prompt like "woman with red hair, blue dress, red hat, golden light" would lose parameters mid-render. The hair stayed red, but the dress might suddenly turn red too.
Veo 3.1 holds the line. Colors, clothing, and scene elements stay the way you specified them and don't drift during generation. It also adds the small touches that make a frame feel alive — eye contact with the camera, a natural pose, secondary details like objects in hand or nearby — without you having to micromanage them.
The practical effect: fewer re-rolls. You hit a usable result faster, which means your credit and time spend per approved creative drops noticeably. For a buyer running batch tests, "prompt adherence" isn't a nerdy spec — it's your effective cost per asset.
Real-time scene control
You can now assemble video from several pieces and add to it as you go. Had a shot of a person and want a product in their hand? Add a prompt, and it appears — no need to rebuild the whole clip. A recent Google update pushed this further by letting you remove any object from a frame. If a red hat or a cluster of purple flowers is cluttering the shot, you delete it. This is essentially professional-grade scene editing happening live, which matters when you need to localize one master creative across geos or swap a product without re-shooting.
Working in Google Flow
Google Flow is the AI studio from Google Labs and the main cockpit for the Veo models. It's where every Veo feature actually lives. You can generate video from text, animate stills, load references, and continue finished clips. It also houses Scene Builder — the tool that adds or removes objects right inside the frame without rebuilding the whole video.
Setup that saves you credits
Generation burns internal credits, and there's one trap to disarm immediately: by default the system returns two variants per prompt, which drains your limit twice as fast. Switch that to a single video before you do anything else. On a high-volume testing day that one toggle is the difference between 50 and 25 usable renders.
Pick your aspect ratio next. Horizontal for standard video and YouTube; vertical for Reels, TikTok, and Shorts. Don't render horizontal and crop later — frame for the placement you're actually buying.
Then choose the model:
- Veo 3.1 fast — roughly 20 credits. Use it to validate an idea or check how the model interpreted your prompt. This is your testing and rough-draft workhorse; the vast majority of your renders should live here.
- Veo 3.1 quality — roughly 100 credits. Use it only for the final render of a creative that already proved out on fast. Cleaner picture and sound, but you pay 5x, so reserve it for assets you're actually shipping.
Plans and pricing
For just kicking the tires, there's free access: 100 welcome credits on first login, then 50 free credits a day. Enough for a couple of rough renders to learn the ropes.
If you're going to run this regularly — and as a buyer you will — a subscription makes sense:
- Google AI Pro — $19.99/month. Includes 1,000 credits monthly, video upscaling to 1080p, 2 TB cloud storage, and access to the advanced Gemini 3.1 Pro model. A reasonable starting tier for a solo buyer or small team.
- Google AI Ultra — $249.99/month. Roughly 25,000 credits, upscaling to 4K, 30 TB storage, and higher generation limits. This is the tier for a media-buying team running creatives at industrial volume.
Run the math against your own numbers: if you're paying a designer per video, the Ultra plan often pays for itself in the first week of testing.
The interface
On the right is a Flow TV button — a feed of other users' work where you can lift ideas, scenes, and approaches. Useful for spying on angles, the same way you'd raid a spy tool.
My Library stores every past generation. Each clip's card flips over to reveal the original prompt, which you can view, copy, edit, and re-run. Treat this like your creative archive — the winning prompt for a converting creative is an asset you reuse, not a one-off.
Flow offers five core modes:
- Text to video — describe a scene, get a clip with motion, light, and sound.
- Image to video — feed it a still, get motion, animation, and camera movement added.
- Frames / start–end — set a first and last frame; the system fills in the movement between them.
- Scene Builder — work on a finished video: add objects, remove them, change the scene, continue the clip. This is the key Flow feature.
- Extend video — continue a clip in the same style with the scene preserved.
Prompting: the "Four Pillars" method
The model understands a request far better when it's built in a structure it can parse: who is in frame, what they're doing, where they are, and in what visual style. Instead of one rambling paragraph, build on four pillars in order — subject first, then action, then environment, and finally mood, light, and style.
Pillar one — the subject. State who or what is the center of attention up front. Short and specific does the job: "an elderly fisherman," "a golden retriever on a bed," "a girl with a laptop." The model latches onto this and builds everything else around it.
Pillar two — the action. Spell out exactly what the subject is doing. Be concrete: the fisherman mends a net by hand, working the knots; the retriever lies down and slowly wags its tail.
Pillar three — the scene. Set the place, the surroundings, and the details that hold the frame together. For example: "The fisherman stands on an old wooden pier: darkened boards, damp sea air, a faint smell of salt. The dog is on the shore of a warm lake at sunset: soft glints across the water, gentle even light." Keep the details concrete — "a clearing full of ferns," "pebbles by the water," "a narrow root-laced trail" — because specifics lock the picture in and help the model hold the scene.
Pillar four — the mood. One word sets the tone: nostalgia, calm, tension, warmth. The model tunes light, color, and the whole frame to match, and the scene reads as one coherent piece.
Bonus pillar — visualization. This is the cheat code that turns a plain clip into something that looks like real film. Here you write the technical parameters: lens, lighting scheme, and system commands.
Lens choice — how the scene is "seen"
These parameters set which "glass" the scene is viewed through, which drives perspective, blur, depth, and the overall feel of the shot.
| Prompt term | Effect | Best for |
|---|---|---|
| 24mm lens | Wide-angle. Captures a lot of space, slightly distorts the edges. | Epic wide shots, landscapes, cramped interiors. |
| 50mm lens | Portrait lens. Closest to human vision, no distortion. | Dialogue, mid shots, natural scenes. |
| Macro lens | Extreme close-up of small details. | Water droplets, skin texture, insects. |
| Anamorphic lens | Signature horizontal flares and a stretched cinematic look. | Premium ad spots, Hollywood-style stylization. |
| Shallow DOF | Shallow depth of field. Subject sharp, background heavily blurred (bokeh). | Close-ups, isolating your hero from a crowd. |
Lighting — the cinematographer's main tool
The model understands professional lighting schemes well.
| Prompt term | Effect | Best for |
|---|---|---|
| Golden hour | Warm yellow-orange light, long soft shadows (just before sunset / after sunrise). | Romance, nostalgia, calm scenic flythroughs. |
| Blue hour | Deep cool blue tone, no harsh shadows (twilight). | Melancholy scenes, thrillers, cityscapes. |
| Hard light | Hard directional light with very dark, sharp shadows. | Action, dramatic and tense moments. |
| Soft light | Soft diffused light (like overcast weather). No hard shadows, muted colors. | Everyday scenes, documentary, beauty ads. |
| Volumetric lighting | Volumetric light — rays through smoke, dust, or fog. | Forest scenes with sun through branches, dusty attics. |
Camera movement
Without movement specified, your video looks like a living photo with a frozen camera.
| Prompt term | Effect | Best for |
|---|---|---|
| Dolly-in / Dolly-out | Smooth physical push toward (or pull away from) the subject. | Building emotion on a face (in) or revealing scale (out). |
| Pan shot | Camera stays put but smoothly turns left or right. | Following a passing car, showing the width of a room. |
| Tracking shot | Camera physically moves parallel to the subject at matching speed. | Running, walking down a corridor. |
| Handheld camera | Handheld shooting. Adds light, natural shake. | Documentary feel, dynamics, sense of presence. |
Final technical settings
These are the last lines of the prompt — they set the final look and the technical settings the model renders against.
| Term / Command | What it does |
|---|---|
| 24fps | Mimics standard cinematic frame rate. Makes motion less "digital," more filmic. |
| Motion blur | Adds realistic blur to fast-moving objects (e.g. car wheels). |
| Film grain | Adds film grain. Kills the perfect plastic "AI-rendered" sheen. |
| --ar 16:9 | System command (aspect ratio). Locks the wide horizontal format. |
| --style raw | System command. Disables built-in filters for a maximally raw, photoreal image. |
A note for buyers specifically: that film grain + --style raw combination is your anti-detection toolkit on the creative side. The "too clean, too perfect" look is exactly what makes a feed scroller's brain register "ad / AI" and scroll past. Roughing the image up slightly reads as authentic UGC, which is usually what converts on cold traffic.
JSON vs. plain-text prompts
For complex scenes, use JSON, because modern models handle structured data better than a wall of text. Internally they break the request into parts anyway — subject, action, scene, style — so JSON just hands them that structure pre-sorted.
Example:
{
"subject": "elderly fisherman",
"action": "repairing fishing net by hand",
"scene": {
"location": "old wooden pier",
"details": ["salt on boards", "wet surface", "shells on poles"]
},
"camera": "close-up, slow push-in",
"lighting": "golden hour, warm light",
"mood": "nostalgia"
}
The model reads this as a clean scene structure where each block owns its part of the frame and doesn't conflict with the others. Details don't get lost, objects don't blend, camera and light don't jump around.
JSON is also where you get granular control. You can attach lines of dialogue to specific characters and split sound into layers — birds separate from wind separate from music. Meta-instructions work well too: a short word like "cinematic" instantly sets the level of the picture (clean light, light film grain), and the model pulls those parameters in without long descriptions, keeping the prompt compact.
In scenes with movement and multiple objects, lock the camera down from the start. A single shooting position and a wide angle help hold the space so objects stay put. Make your key light warm, like sunlight; add a cool fill light that softly lifts shadows and adds depth. The result reads as dimensional and clean. Finish by describing the final frame explicitly — state how it ends, e.g. objects in place, motion stopped.
For a buyer building a JSON template, the payoff is repeatability: once you have a converting structure, you swap the subject and product fields and keep everything else, and you've got a localized or re-angled variant in one edit.
Keeping a character consistent
This is the make-or-break feature for any creative series — a recurring "spokesperson," a mascot, a UGC actor across a funnel. Lock the character with a set of references. Add several images of the same person to the project: a close-up of the face, a three-quarter or profile angle, and a full-length shot in the right outfit. That gives the model the proportions, hair, silhouette, clothing, and small details.
You then reuse that set on every new scene. In image modes like Ingredients to Video or Frames to Video, the references become the model's anchor — it pulls the character's appearance from them and carries it into a new frame, a new location, different light, or different movement.
The one rule: use the same reference set across all scenes. Then the face, clothing, and proportions don't shift, and your character doesn't turn into a new person after every clip. For a multi-step funnel where the same face needs to appear in the hook, the demo, and the CTA, this consistency is what makes the creative feel like a real person rather than a deepfake patchwork.
Extending, transitions, and assembling scenes
To extend a video, use Scene Builder. Add a new scene, hit Extend, and repeat the same conditions — same character, same action, same light, same camera. Flow then continues the scene cleanly, without drift or stray changes.
The same place is where you use the Jump transition — a link between two different scenes in one stream. It takes the last frame of the first clip and the first frame of the second and smoothly stitches them. The character keeps its appearance and adapts to the new environment; light, color, and atmosphere adjust automatically.
Use these transitions for scene-change effects. A person stands in a park, and in the next frame they're on a rooftop or a beach. The transition moment itself is played visually — birds fly past, smoke appears, the camera moves and the scene changes. For storytelling creatives — the kind that work for sweepstakes, dating, and certain gambling angles — these seamless jumps let you compress a mini-narrative into 15 seconds without an editor.
Test prompts before you spend credits
If you're nervous about burning credits on a render that flops, validate ideas on third-party sites first.
The first is Design Arena. You enter a prompt and the platform generates two videos using different models — Kling, C Dream, C Dance, and others. It's a way to gauge graphics and sound quality, but it caps at two videos per account.
The second is Met AI. This platform runs without a generation cap and lets you edit; one prompt returns four different variants. Handy for cheap, high-volume ideation before you commit Veo credits to the finalists.
Checklist for working with Veo 3.1
Here's the field checklist to squeeze the most out of Veo 3.1 without bleeding credits:
- Save credits. Immediately turn off the default two-variant generation, and test ideas on the cheap Veo 3.1 fast model (~20 credits), reserving Veo 3.1 quality (~100 credits) for the final render only.
- Build prompts on the four pillars. Describe the hero, their specific action, a detailed environment, and the overall mood — in that order.
- Write sounds into the text. Version 3.1 auto-generates audio and ambient sound, so spell out the effects you want (engine roar, rain noise, etc.).
- Control camera and light. Add cinematic terms — lens type (24mm, 50mm), lighting (golden hour, soft light), and movement (dolly-in, pan shot).
- Use technical parameters. End the prompt with commands like 24fps (filmic smoothness), film grain, or --style raw (max photorealism — and your best anti-"too-clean-AI" tool).
- Write complex prompts in JSON. The structured format helps the model cleanly separate subject, light, and camera so nothing blends in heavy scenes.
- Edit without rebuilding. Scene Builder lets you select and delete any unwanted object or add new ones right inside a finished video — perfect for localizing or swapping a product.
- Lock your characters. Upload a reference set (face, profile, full-length) and reuse it across all scenes so appearance and clothing stay fixed.
- Make seamless transitions. The Jump function smoothly stitches different locations and scenes, auto-linking the last frame of one clip to the first of the next.
- Build reusable templates. Save the prompt of any creative that converts; swap the subject and product fields to spin localized or re-angled variants in one edit.
Share this article
Send it to your audience or copy an AI-ready prompt.